Bean 的加载
Bean 的加载方式
Bean 的加载方式包括:
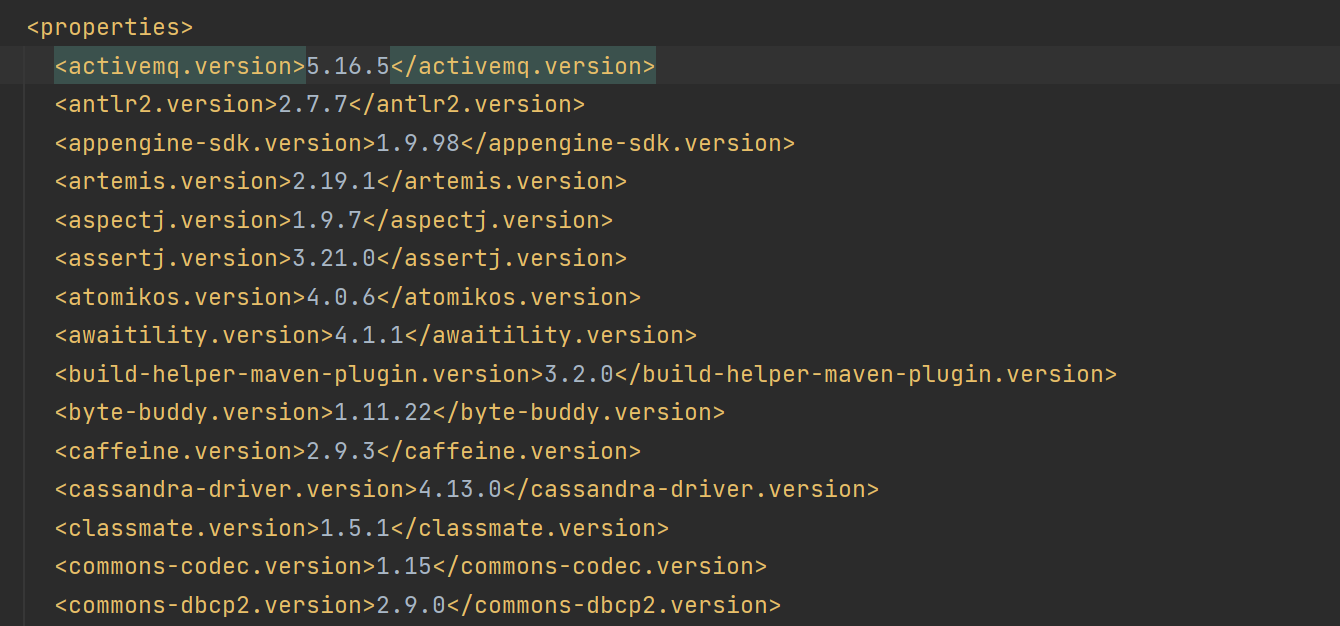
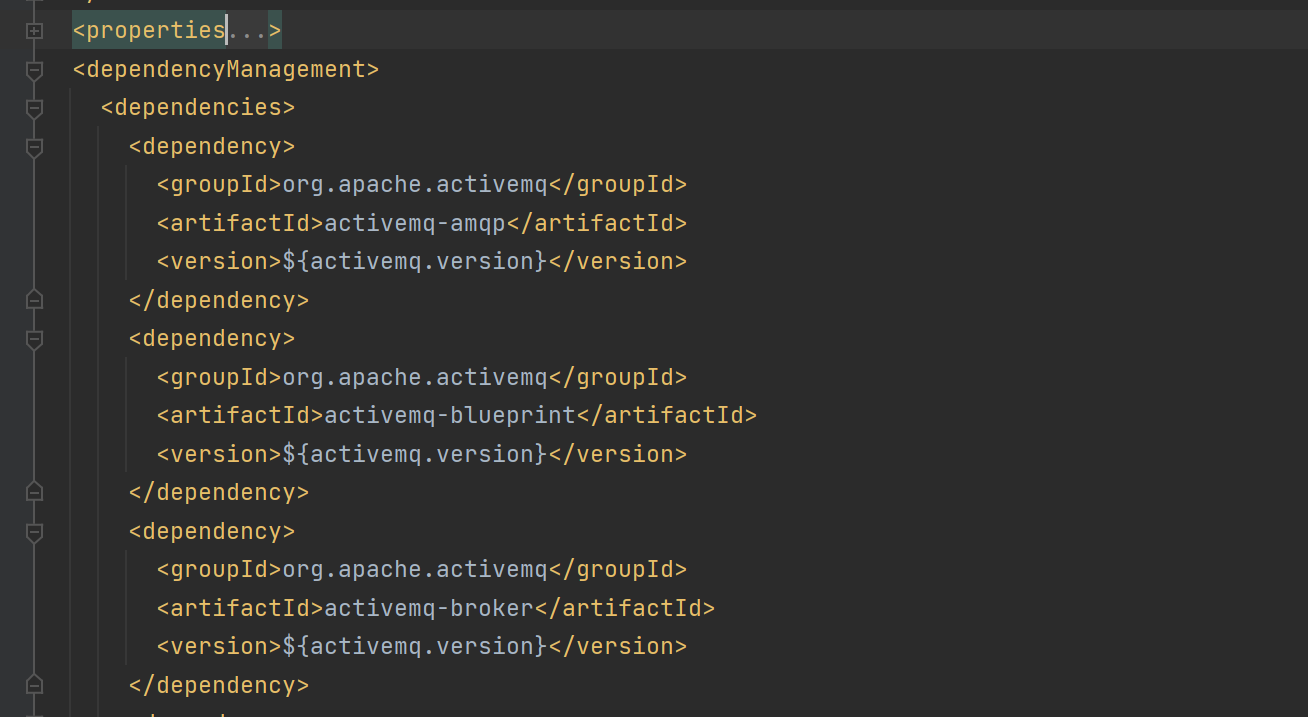
XML 配置文件方式导入。
- 使用 bean 标签导入。
- 使用 @ImportResource 导入配置文件。
@Component 注解和 @Bean 注解。
- @Component 注解。
- @Configuration + @Bean 注解。
- 类实现 FactoryBean 接口,并使用 @Bean 修饰方法返回实现 FactoryBean 的实现类。
@Import 导入。
- @Import 直接导入 Bean 类、配置类。
- @Import 导入 ImportSelector 接口。
- @Import 导入 ImportBeanDefinitionRegistrar 接口。
- @Import 导入 BeanDefinitionRegistryPostProcessor 接口。
在 IOC 容器初始化完成后再注册 Bean,即 AnnotationConfigApplicationContext 调用 register 方法注册 bean。
下面说明 ImportSelector 接口、ImportBeanDefinitionRegitrar 接口、BeanDefinitionRegistryPostProcessor 接口。
ImportSelector 接口可以根据注解元数据 AnnotationMetadata 进行一系列判断,返回的是需要被导入的全路径名。
1 | public MyImportSelector implements ImportSelector { |
ImportBeanDefinitionRegistrar 接口,不仅可以通过元数据 AnnotationMetadata 进行判断,而且可以通过 BeanDefinition 注册器来手动注册 Bean,控制 Bean 的注册过程。
1 | public MyImportBeanDefinitionRegistrar implements InportBeanDefinitionRegistrar { |
BeanDefinitionRegistryPostProcessor 接口,通过 BeanDefinition 注册器注册 bean,实现对 bean 的最终裁定(可以覆盖前面 bean 的注册)。
Bean 的加载控制
Bean 的加载控制就是根据特定情况进行选择性的加载,控制 Bean 的加载过程。可以分为两种方式,编程式和注解式。
- 编程式:
- @Import 导入 ImportSelector 接口。
- @Import 导入 ImportBeanDefinitionRegistrar 接口。
- @Import 导入 BeanDefinitionRegistryPostProcessor 接口。
- AnnotationConfigApplicationContext 调用 register 方法注册 bean。
- 注解式:
- 使用 @Conditional 注解及其衍生注解 @ConditionalOnXxx 设置 Bean 的加载条件。
自动配置
SpringBoot 在启动时会扫描外部引用 jar 包中的 META-INF/spring.factories 文件,将文件中配置的类型信息加载到 Spring 容器,并执行类中定义的各种操作。对于外部 jar 来说,只需要按照 SpringBoot 定义的标准,就能将自己的功能装置进 SpringBoot。
从 SpringBoot 3.0 开始,自动配置包的路径从 META-INF/spring.factories 改为 META-INF/spring/org.springframework.boot.autoconfigure.AutoConfiguration.imports。
引入 starter 之后,可以通过少量注解和一些简单的配置就能使用第三方组件提供的功能了,通过注解或者一些简单的配置就能在 Spring Boot 的帮助下实现某块功能。
原理
SpringBoot 的核心注解 @SpringBootApplication ,主要包含三个注解 @SpringBootConfiguration、@ComponentScan、@EnableAutoConfiguration。
- @SpringBootConfiguration:可以看作是 @Configuration,允许在上下文中注册额外的 bean 或导入其他配置类。
- @ComponentScan:扫描被 @Component 注解的 Bean,注解默认会扫描启动类所在的包下所有的类 ,可以自定义不扫描某些 bean。同时,容器中将排除
TypeExcludeFilter和AutoConfigurationExcludeFilter。 - @EnableAutoConfiguration:开启自动配置,是自动配置的关键注解。
1 |
|
@EnableAutoConfiguration
@EnableAutoConfiguration 其中包含了两个主要注解:
- @AutoConfigurationPackage:将 @SpringBootApplication 路径下的所有 Bean 注册到容器中。
- @Import({AutoConfigurationImportSelector.class}):加载自动装配类。
1 |
|
AutoConfigurationImportSelector 加载自动装配类
AutoConfigurationImportSelector 的声明如下:
1 | public class AutoConfigurationImportSelector implements DeferredImportSelector, BeanClassLoaderAware, ResourceLoaderAware, BeanFactoryAware, EnvironmentAware, Ordered { |
AutoConfigurationImportSelector 实现了 ImportSelector 类,作用是获取所有符合条件的类的全限定类名,这些类需要被加载到 IoC 容器中。通过 getAutoConfigurationEntry 方法来实现获取所有需要自动配置的全限定类名。
1 | private static final String[] NO_IMPORTS = new String[0]; |
getAutoConfigurationEntry 方法
getAutoConfigurationEntry 方法如下,主要有流程:
- 判断自动装配开关是否打开,默认为 true。
- 获取 @EnableAutoConfiguration 注解中的 exclude 和 excludeName 属性。
- 获取所有自动装配的配置类,读取所有引入 jar 包下的 META-INF/spring.factories 文件。
- 自动配装配的配置类通过 @ConditionalOnXxx 进行选择性的加载控制,在 getAutoConfigurationEntry 中剔除不需要被加载的配置。
1 | private static final AutoConfigurationEntry EMPTY_ENTRY = new AutoConfigurationEntry(); |
自实现 starter
了解了自动配置的原理后,自实现 starter 的流程如下:
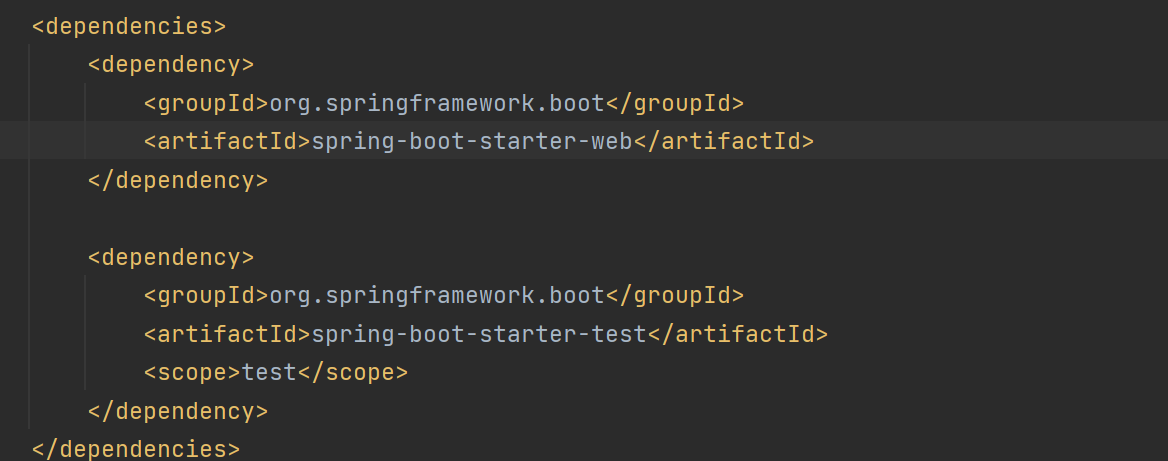
- 引入 spring boot 相关依赖
- 创建自动配置类,用 @ConditionalOnXxx 修饰
- 将自动配置类填写到 META-INF/spring.factories 文件下
- 新建工程引入 xxx-spring-boot-starter